Testing the cellular connection on nRF91 Series DK
The Cellular: AT Client sample enables you to send AT commands to the modem of your nRF91 Series DK to test and monitor the cellular connection. You can use it to troubleshoot and debug any connection problems.
Complete the following steps to test the cellular connection using the AT Client sample:
Follow the steps in the Updating the application firmware tab in the Programming nRF91 Series DK firmware page to program the sample to the DK. When selecting the HEX file, select the following file:
nRF9151 DK -
nrf9151dk_at_client_<version-number>.hexnRF9161 DK -
nrf9161dk_at_client_<version-number>.hexnRF9160 DK -
nrf9160dk_at_client_<version-number>.hex
Test the AT Client sample as described in the Testing section of the Cellular: AT Client documentation.
Testing the GNSS functionality
To achieve the fastest Time To First Fix of GNSS position, the following conditions need to be met:
The device must be able to connect to nRF Cloud. You can confirm this by checking whether the status of your DK is displayed correctly on the nRF Cloud portal. The cloud connection is used to download GPS assistance data.
Your network operator should support Power Saving Mode (PSM) or Extended Discontinuous Reception (eDRX) with the SIM card that you are using. Check with your SIM card provider, to see the supported features and network coverage for different countries:
For the Onomondo SIM card, check the Onomondo LTE-M coverage and Onomondo NB-IoT coverage.
For the Wireless Logic SIM card, check the Wireless Logic LTE-M/NB-IoT network coverage.
For the iBasis SIM card, see iBasis IoT network coverage.
The device may be able to acquire a GNSS position fix even if the network does not support PSM or eDRX for your SIM card, but it will likely take longer to do so.
For best results retrieving GNSS data, place the nRF91 Series DK outside with a clear view of the sky. It might also work indoors if the device is near a window.
Complete the following steps to test the GNSS functionality:
If you have an external antenna for your nRF91 Series DK, attach it to connector J2 to the left of the LTE antenna. For more information, see nRF9151 GPS receiver specification, nRF9160 GPS receiver specification, or nRF9161 GPS receiver specification, depending on the DK you are using.
Turn on or reset your DK.
Log in to the nRF Cloud portal.
Click Devices under Device Management in the navigation pane on the left.
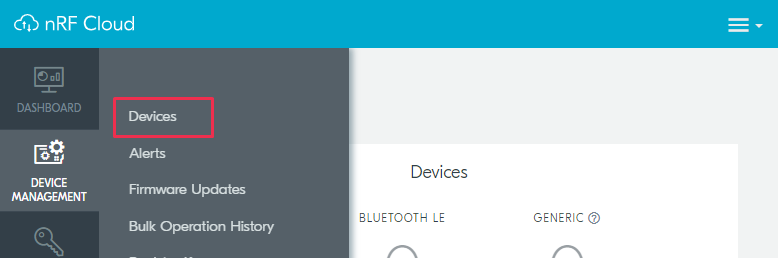
nRF Cloud - Devices
From the Devices view, open the entry for your device.
Observe that after a while, the GNSS data is displayed on the map in the GPS Data card on nRF Cloud.